How to Make Wooden Wick Candles
Here's What You'll Need:
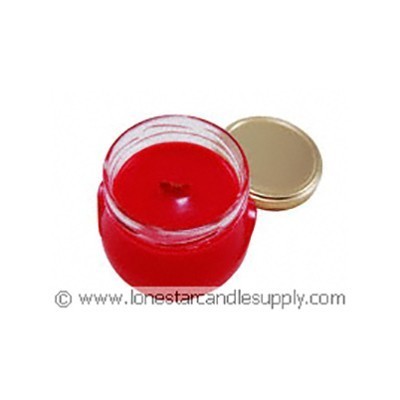
Candle Dye (optional)
UV Stabilizer (optional, but recommended)
Butcher Paper or Newspaper
Paper Towels
Metal Spoon or Stir Stick
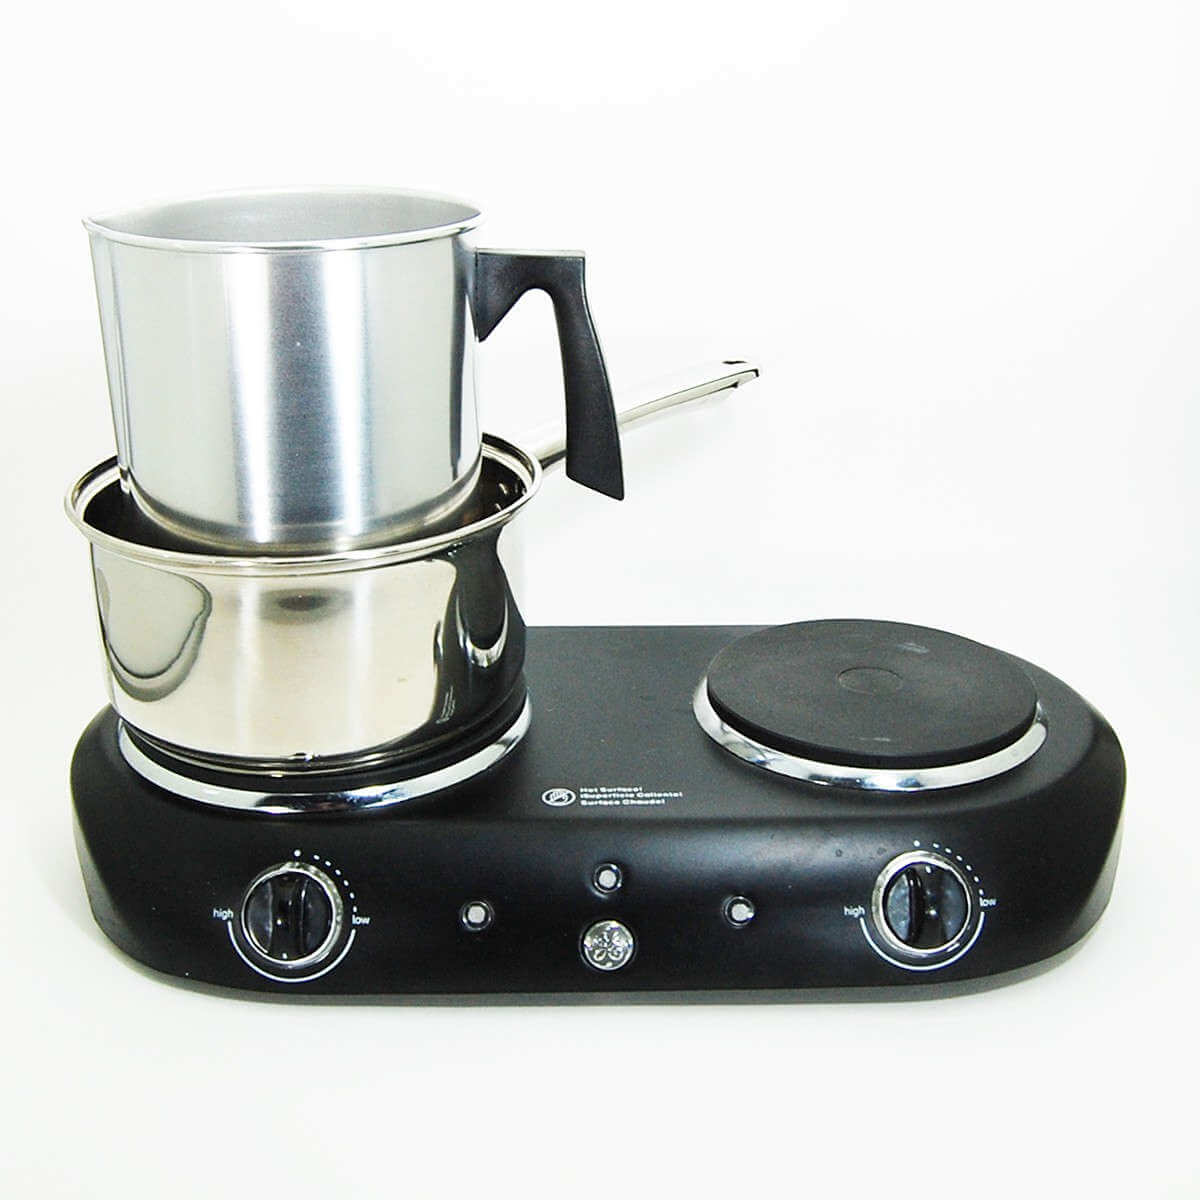
Sauce Pan
Metal Cookie Cutter or Trivet
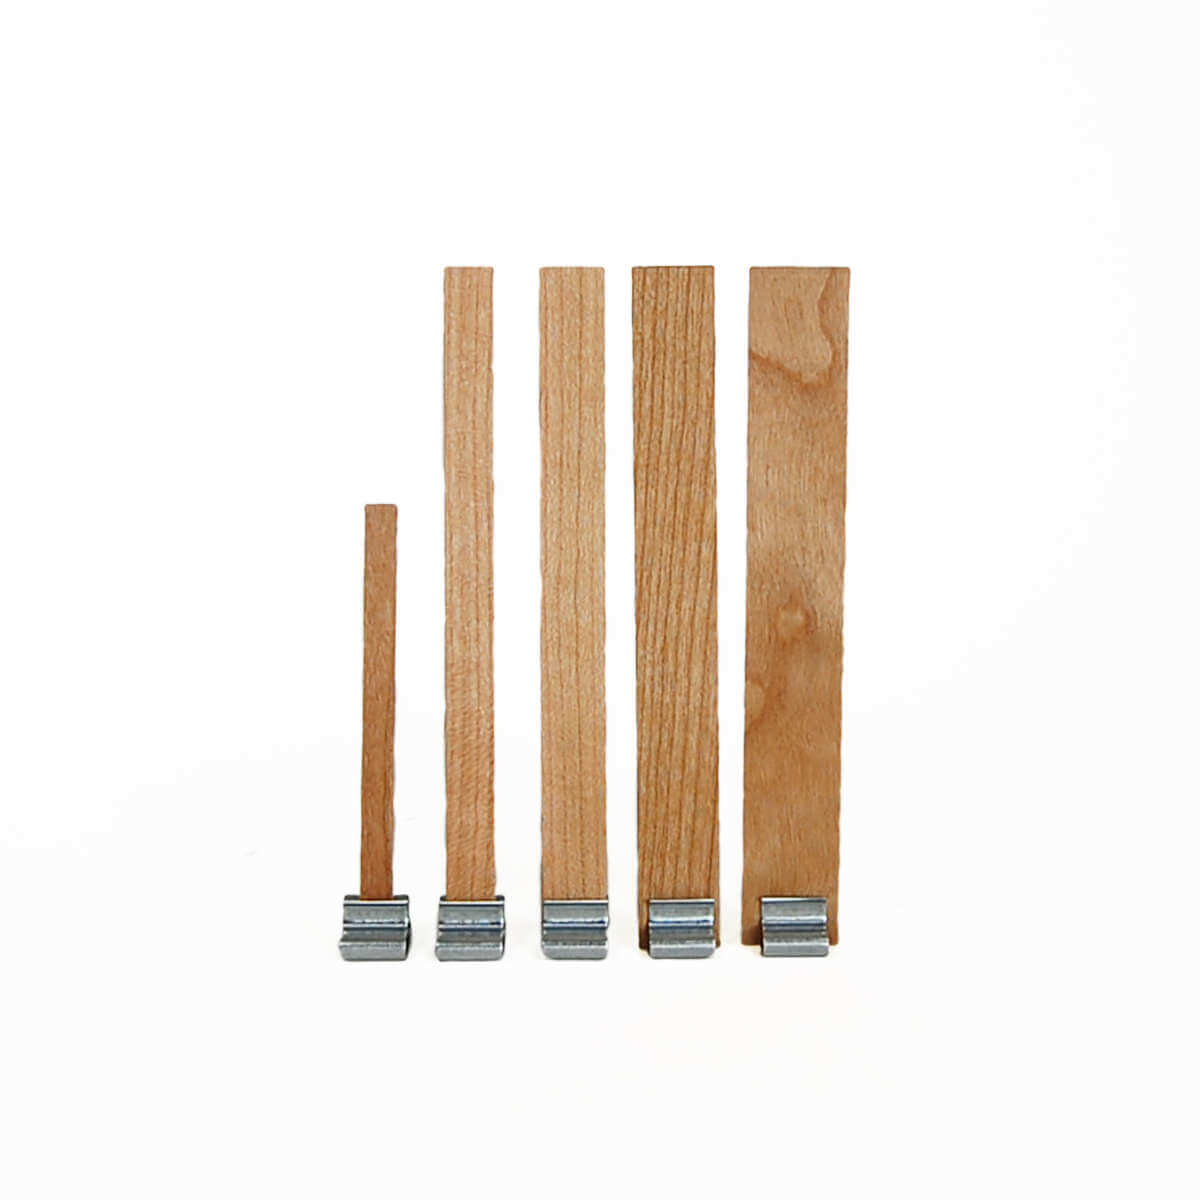
Scissors or Nail Clippers
Utility Knife and/or Putty Knife
Cover your work area with butcher paper or newspaper. Spills or drips are most times unavoidable, and clean-up is much easier if you don’t have to clean wax off of your work surface.
Step 1
First, you will need to heat your containers. Preheat the oven to around 150ºF - 170ºF, or the lowest temperature setting. The “Keep Warm” setting will work if you can not set the temperature that low. Place the containers you will be using on a cookie sheet or pan and put them in the oven. The containers can stay in the oven until you are ready to use them. Heating not only helps eliminate jump lines, but it also helps prevent possible breakage when pouring hot wax into a cold container.
Step 2
For instructions on preparing the wax, please see our How to Prepare Wax for Pouring guide. You can continue with the following steps while your wax is melting.
Step 3
The tabbed wooden wicks will stand straight in the jars without gluing them, but they may move when the wax is poured. Add a small amount of hot glue or a Glue Dot to the bottom of the tab. Press it firmly into the container, but don't press too hard or the prongs on the tab can move. Make sure the wick is as close to the center as possible.
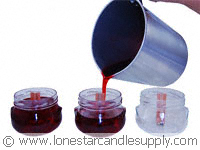
Step 4
Slowly pour the wax into the container making sure not to fill past the widest part of the jar. (There are exceptions to this, such as the tureen jar.) If you pour too quickly, the wax may splash up the side of the jar or form small air bubbles on top of the wax. Avoid pouring wax directly onto the wick. You can adjust the wick slightly if needed, but don't move it around too much; the prongs on the wicktab can easily bend allowing the wick to lean to one side and be off center.
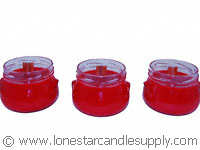
Step 5
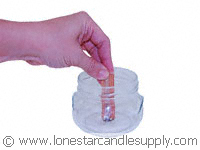
When the candle has completely set, you will be ready to trim the wick. Trying to trim the wick too soon will disrupt the wax around the wick.
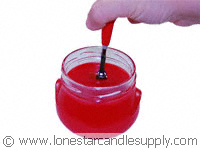
Step 6
Trim the wick to just above 1/4" length using end nipper pliers or nail clippers. Be sure not to trim them too short because they will not burn properly. You may then put the lid back on the container.
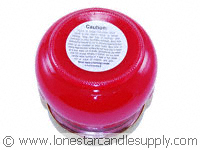
Step 7
It is highly recommended to add a caution label. You may also choose to add labels unique to your business, fragrance name labels, or a special label for your line of wooden wick candles.
That's it!
Now you can enjoy the crackling sounds of a fire without the hassle or mess while enjoying your favorite scents! Are you ready to give it a try?
You may order everything you need by browsing our selection of candle making supplies.
Tag us if you share your creations on your social media accounts! You can use the hashtag #lonestarcommunity and see your beautiful creations on our Lone Star Community page