How to Prepare Wax for Pouring
These are basic instructions for melting wax. Please check the temperature guidelines for the wax you are using to ensure they are correct. Start by gathering all the items that you will need. The process will go much more smoothly if everything is readily accessible.
Here's What You'll Need:
Candle Dye (optional)
UV Stabilizer (optional, but recommended)
Wax paper to protect your work surface
Paper Yowels
Metal Spoon or Stir Stick
Sauce Pan
Metal Cookie Cutter or Trivet

Step 1
Single Pour Container Wax:
Cutting the single pouring container waxes is fairly easy. In the picture, a putty knife is used, but you can also use a butter knife. The wax can be weighed in the pouring pot so you do not have to transfer it from a different container.
Votive or Pillar Wax:
Cutting the votive waxes can be tricky. For this demonstration, the wax is scored with a utility knife. Then, the scored piece is placed on the remaining slab, and pressure is applied to help break the wax on the score line. You may need to do this a few times to get the wax into small enough pieces to fit in the pouring pot. (Be careful not to cut yourself or smash your fingers while doing this.) The wax can be weighed in the pouring pot so you do not have to transfer it from a different container.
Soy Wax:
Measuring soy wax is VERY easy! Simply scoop out the soy flakes or pastilles and weigh it on a scale to be sure you have enough for your candle(s).
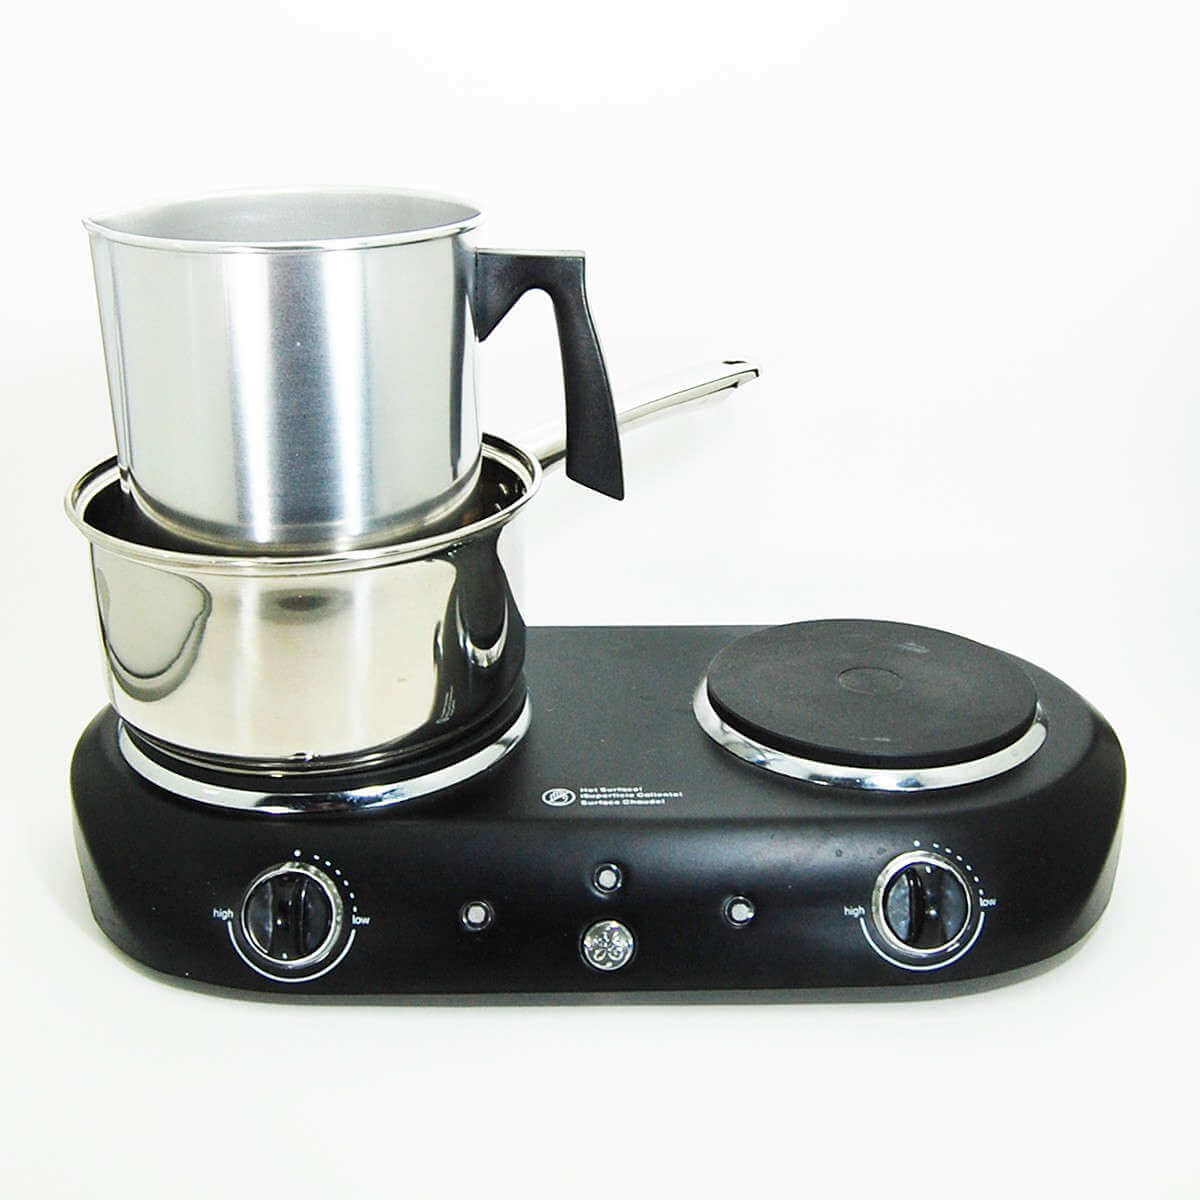
Step 2
Heat the wax to the appropriate temperature in a double boiler. To create a double boiler, put about an inch of water in the saucepan and then place the pouring pot in the water. It is a good idea to add an inexpensive metal trivet or cookie cutter under the pouring pot to elevate it. Doing this ensures the wax is not receiving direct heat from any side. Adjust the heat to a medium-low setting. The water needs to be boiling, but it does not have to come to a rolling boil. If the water is at a rolling boil, it may splatter out of the pan. Check the temperature of the wax occasionally to make certain it is not getting too hot. Adjust the temperature as needed. Make sure that the wax is never left unattended.

Step 3
Once the wax has reached the proper temperature, you are ready to add the fragrance oil. Depending on the wax you are using, you could add 0.5 – 1.5 ounces of fragrance per pound of wax. It is most common to add 1 ounce of fragrance per pound of wax. The fragrance is most accurately measured by weight, but you can also use a tablespoon to measure it if the scale you have does not measure a small amount precisely. A tablespoon is equal to 0.5 ounces. Pour the fragrance into the wax and stir it.

Step 4A
Next, add the desired amount of dye. If you are using dye block, the block will melt into the wax more quickly if it is cut into small pieces. After adding the desired amount, stir the mixture until it is blended thoroughly. Skip to step 5 if you are using dye blocks.

Step 4B
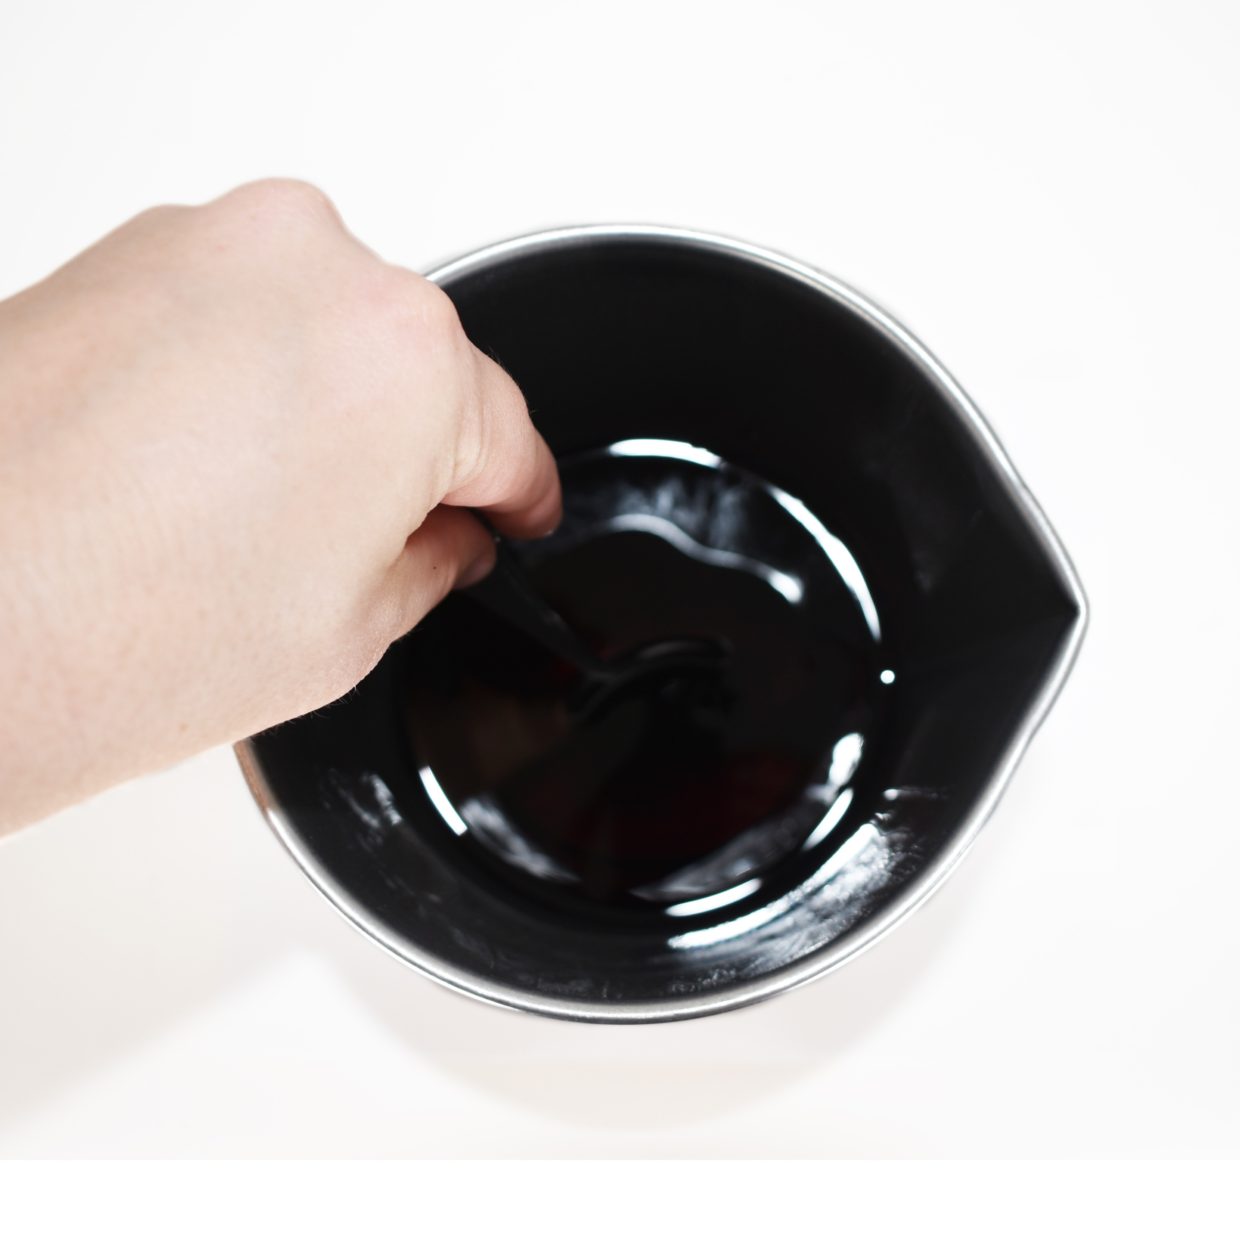
If using liquid dyes, just add the desired amount of drops. Since you can not remove dye once it has been added, it should be added sparingly, especially if you are trying to achieve a light color. You can always add a little more if it is not dark enough. After adding the desired amount, stir the mixture until it is blended thoroughly.
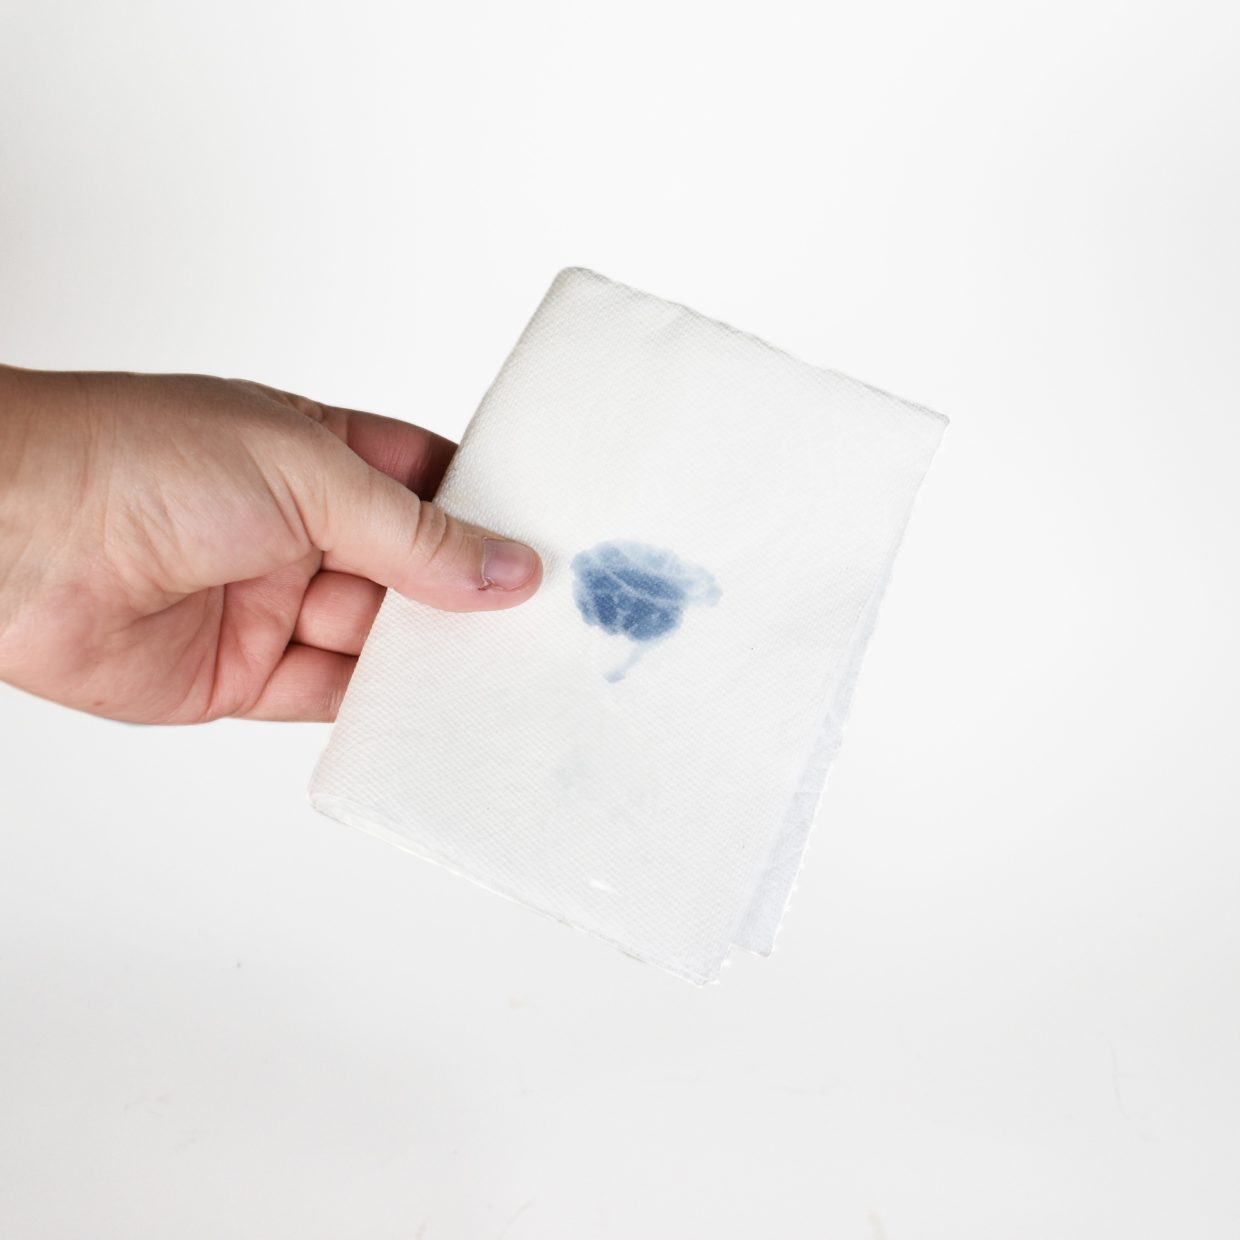
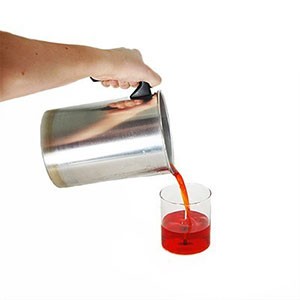
Step 5
When you look at the liquid wax, it will usually look much darker than when it has completely cooled. To test the color, you can drip a small amount of wax onto a paper plate or paper towel. (Make sure not to drip the hot wax on your hands). Allow it to harden, and you will be able to see a more accurate representation of the color. You can then add more dye if desired.
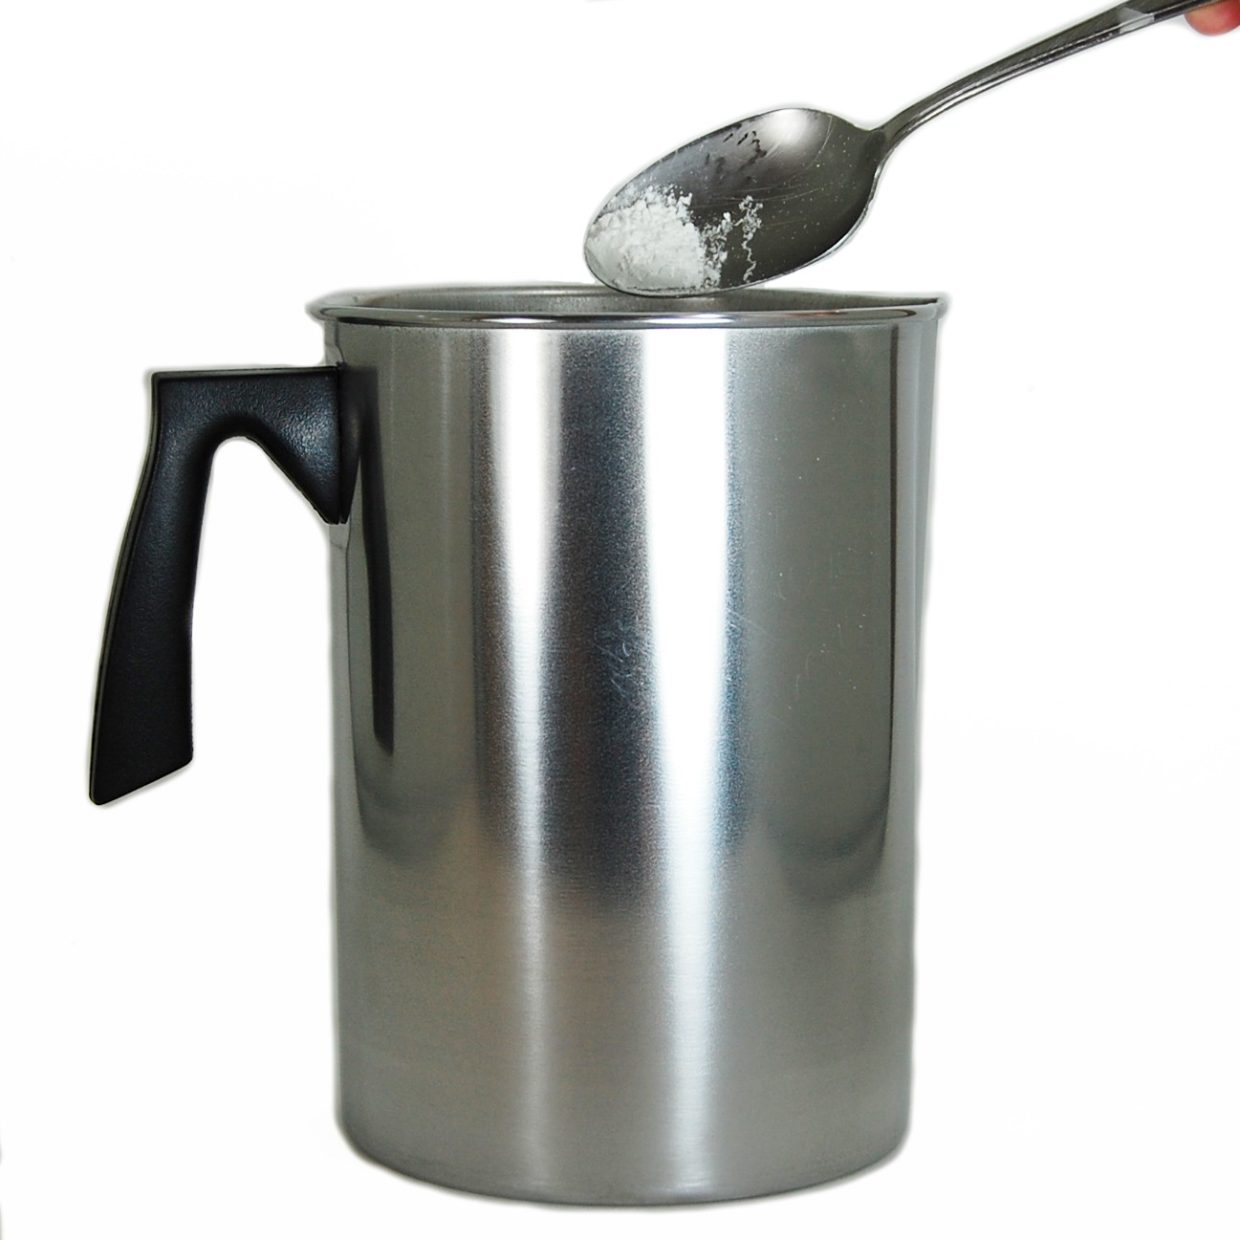
Step 6
At this point, you can add UV stabilizer if you choose. The addition of UV stabilizer will help keep the color from fading if the candles are exposed to UV rays or fluorescent lighting. You would add about ½ teaspoon per pound of wax. Mix everything together very thoroughly. Mixing it for 3 – 5 minutes would be best. Check the temperature again to make sure it is between 175° - 185°F. Remove the pouring pot from the double boiler. The handle of the pouring pot may heat up slightly, so be sure to use a hot pad or something to protect your hand. You may also want to set the pouring pot on a few paper towels to absorb the water from the double boiler.
Step 7
Remove the pouring pot from the double boiler. The handle of the pouring pot may heat up slightly, so be sure to use a hot pad or something to protect your hand. You may also want to set the pouring pot on a few paper towels to absorb the water from the double boiler.
That's it!
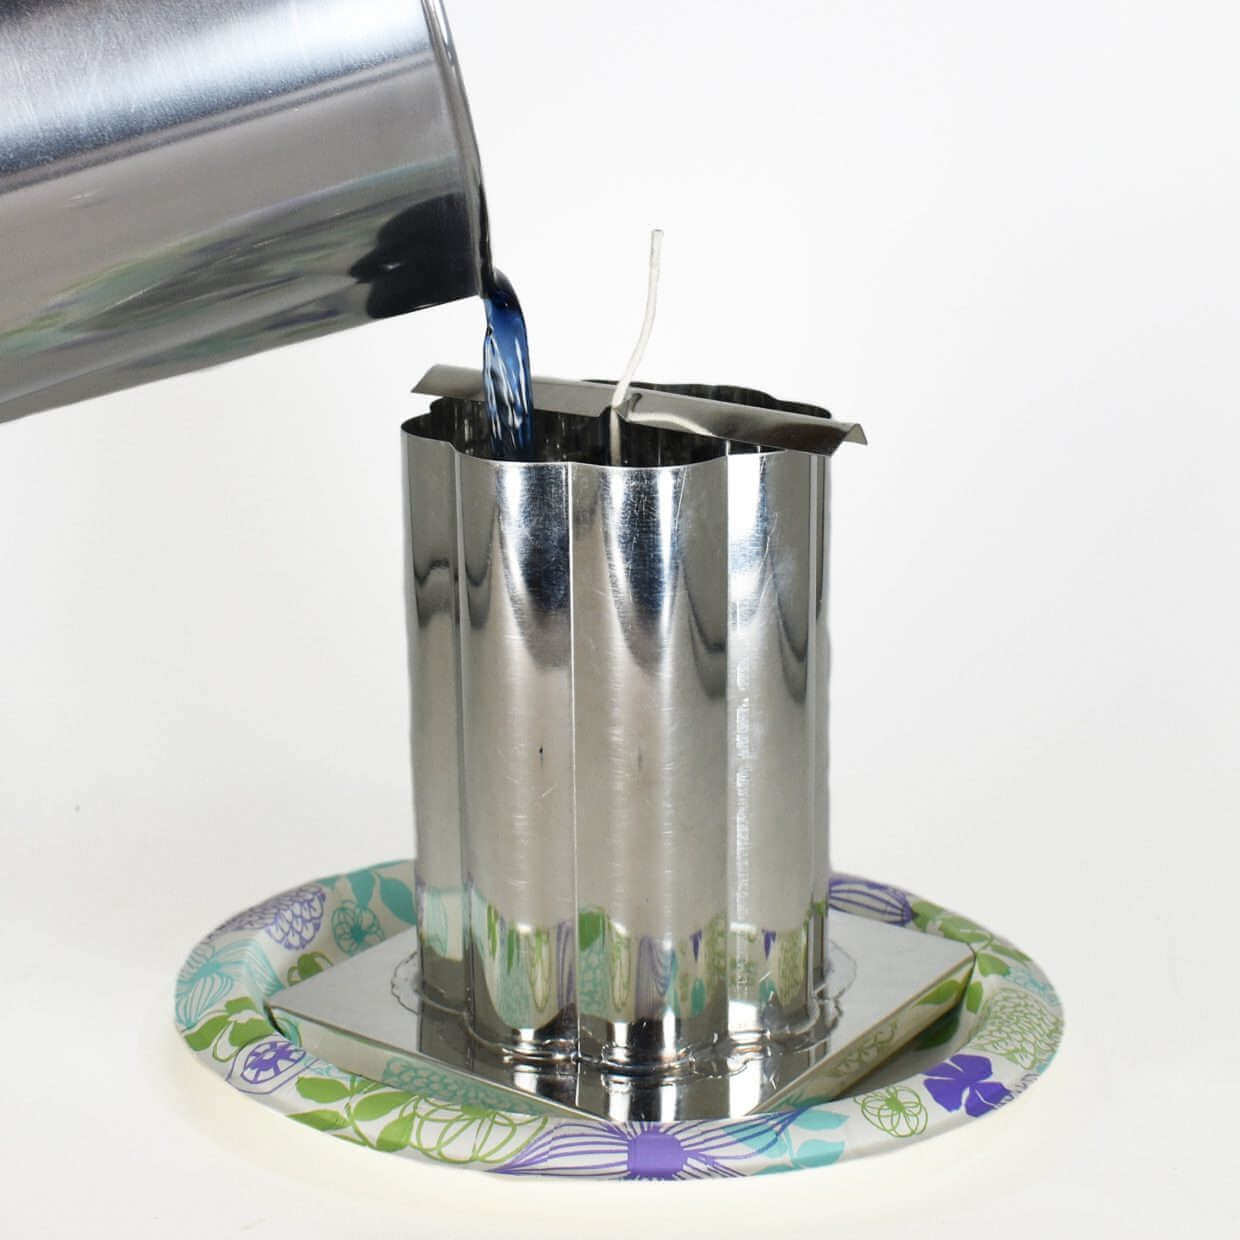
Make sure you check to see what temperature the wax should be before you pour it into your container or mold. If your wax mixture is too cool, you can put it back on the heat source for a little while to warm it back up.
Our Step by Step Guides offer a variety of projects that you can try. This is just the beginning!
The Candle Making Starter Kits are a great way to get everything you need to start making candles or you may choose to order everything you need separately by browsing our selection of candle making supplies.
Tag us if you share your creations on your social media accounts! You can use the hashtag #lonestarcommunity and see your beautiful creations on our Lone Star Community Page.