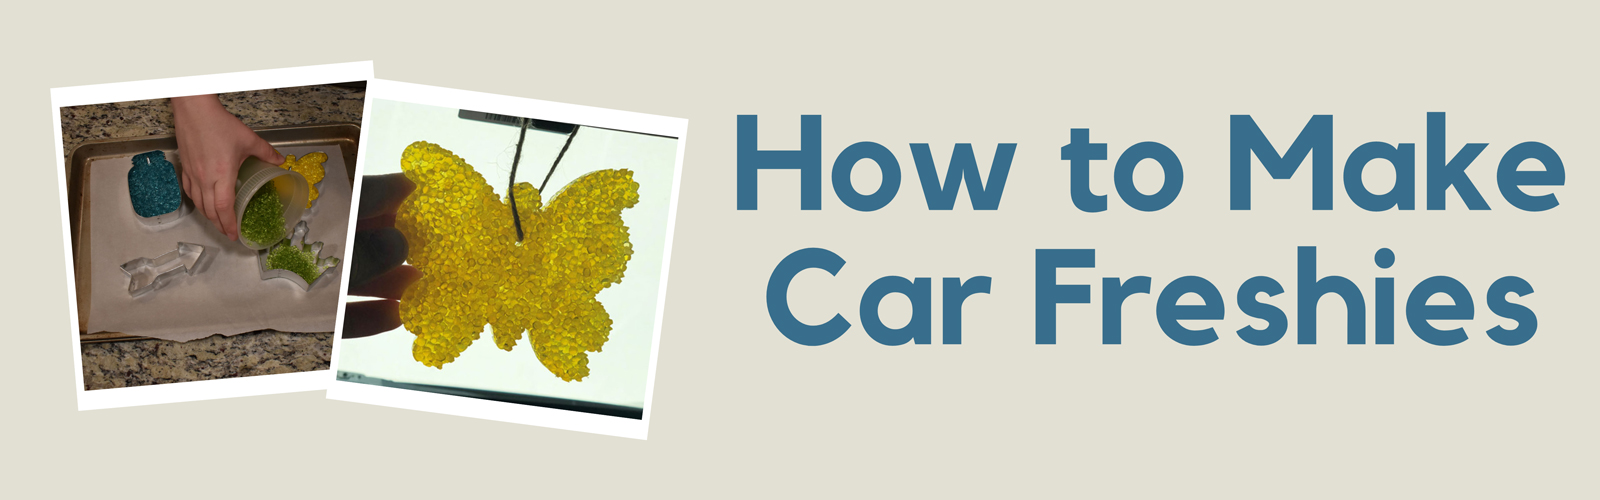
How to Make Car Freshies
Have you tried our Aroma Beads yet? These little beads are so cool and so much fun to play with and melt into fun shapes! You can put the loose beads into a sachet bag but the most popular way to use them is to melt them into shapes using metal cookie cutters. This little tutorial will walk you through the steps of melting Aroma Beads, so you can start creating your own from home or for your business!
First, let's gather all the necessary materials. For this tutorial, I did not show you how to add fragrance and color as we are just focusing on how to melt or bake them. For instructions on how to scent and color the beads check out our tutorial titled How to Make Aroma Beads which can be found in our Candle Making University.
Here's What You'll Need:
Fragrance Oil
Liquid Candle Dye
Aroma Beads
Metal Cookie Cutters
Parchment Paper (do not use wax paper!)
A Large Screw or Nail (optional)
Oven & Oven Mitts
Heavy Elastic Thread, Juite, Yarn, etc.
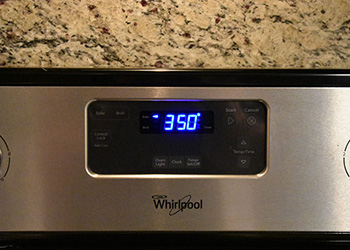
Step 1
This may take a little bit of trial and error as every oven is different. For my oven, I was able to preheat to 350°F but if your oven runs hot you may only want to bring it up to 325°F. The important thing is to test a small batch first to make sure your oven is going to be at the right temperature to melt the beads.
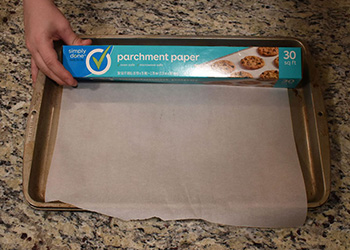
Step 2
The size of your baking sheet really depends on the number of shapes you are baking as well as the size of your oven. Keep in mind that cookie cutter size and the number of shapes you are baking can affect the time it takes to bake them. You will want to cover the bottom of your baking sheet with some parchment paper. This will help the beads easily release from the bottom of the pan. DO NOT USE WAX PAPER! If you use wax paper, the beads will stick to the paper and it will be nearly impossible to remove it without little bits stuck to the bottom of your aroma beads.
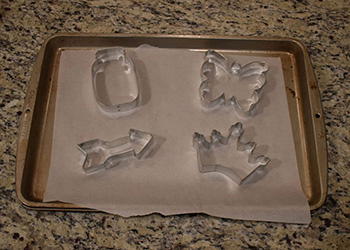
Step 3
You will want to try to evenly space your cookie cutters out on the baking sheet. Again, this will help the aroma beads to bake and melt more evenly. Typically, you want to try to keep the shapes all around the same size for each batch, which most of mine are here. The arrow shape was a little bit smaller, but I did not seem to have a problem getting it to melt evenly.
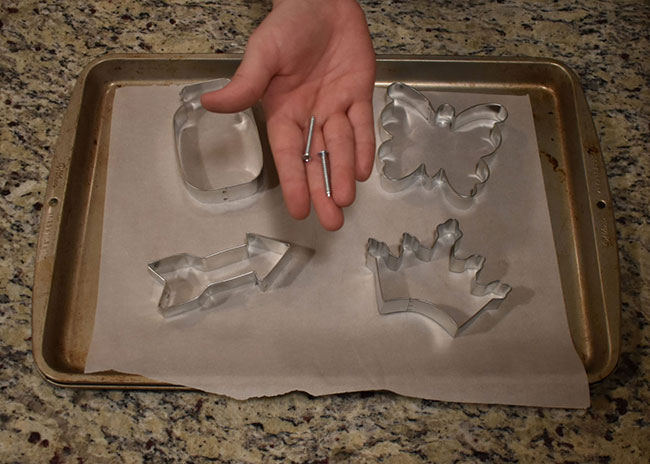
Step 4
If you would like to thread some sort of string through your shapes, we recommend using a medium to large size screw or nail to create a hole for the string. You can see that the two screws I am using here are about medium sized and around 1 inch long. (See next step for placement).
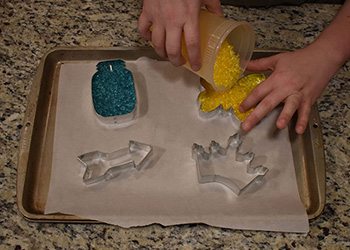
Step 5
This step can be a little bit tricky, especially if you have cookie cutters with a lot of detail. As you can see, the tiara and the butterfly here have several small nooks and crannies that required a little bit of help to spread the beads out evenly. I just used my fingers to make sure they were tucked inside the little crevices and even.

Step 6
Like the oven temperature, you will have to test out your baking time as well to get it just right. Our Aroma Bead manufacturer recommends melting them for about 6-10 minutes depending on size, the number of shapes, oven, temp, etc. For my beads, I put them in the oven for 7 minutes and they came out perfect!
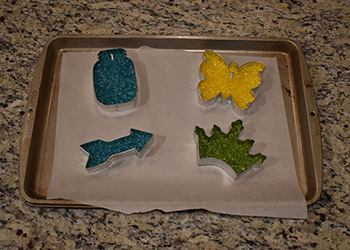
Step 7
To see if your beads are ready to take out of the oven, GENTLY tap the top of the beads with a spoon, popsicle stick, skewer, or whatever you prefer to see if they are all stuck together. If they appear to be sticking to each other, go ahead and remove the beads from the oven and let them cool.
IMPORTANT: You do not want to let your beads melt down to a liquid! You are trying to melt the bottom of the beads together just a bit but still maintain a "loose" look on top. If you bake the beads for too long they can start to lose some of their scent throw.

Step 8
Once your beads have cooled, you can start removing them from the cookie cutters. The beads will stick to the sides of the cookie cutters just a bit, so it requires a little bit of wiggling and gentle pulling to get them to pop out. You can also remove any screws or nails used at this point simply by pushing the "sharp" end down on the counter or cookie sheet until it slides out.
Step 9
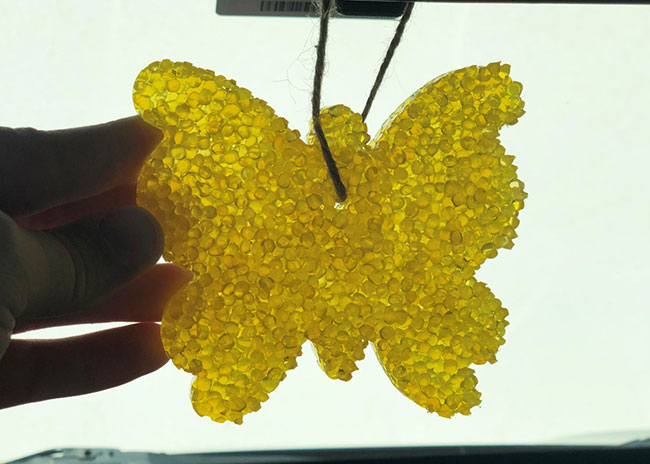
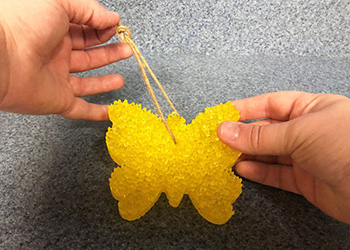
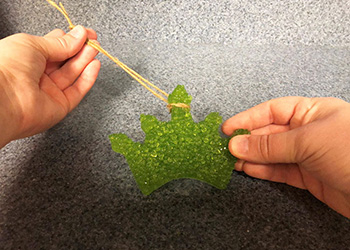
This next step is optional but works best if you want to hang your Aroma Beads in your car. Simply thread the string through the hole created by the nail or screw or, you can tie some string around a section of the shape to hang it. Make sure you create a loop that is large enough to fit around your rear-view mirror or leave the knot loose, so you can tie it up.
That's it!
You're finished! Once you have threaded your string through, you are ready to hang your aroma beads in your car, office, room, or anywhere you please!
Ready to get started? Check out some of our top cookie cutters:
Tag us if you share your creations on your social media accounts! You can use the hashtag #lscscommunity and see your beautiful creations on our Lone Star Community Page.